Add data points
The fields you need to fill in depend on which interface the data point uses.
Written By Evolo Support
Last updated 1 day ago
Here's how to do it
Go to Configuration and select Data Points.
Click Add Data Point.
Select the interface to which the data point belongs.
Enter the parameters needed to read the data point.
Click "Read Data Point" to verify that the value is being read correctly.
Create the data point.
Fields for All Interfaces
These fields apply to all interfaces. The fields for each protocol are explained under the respective protocol section below.
Name: the name of the data point.
Description: A brief explanation of what the data point is.
Interface: the interface from which the data point should be read. The fields below change depending on the type of interface you select.
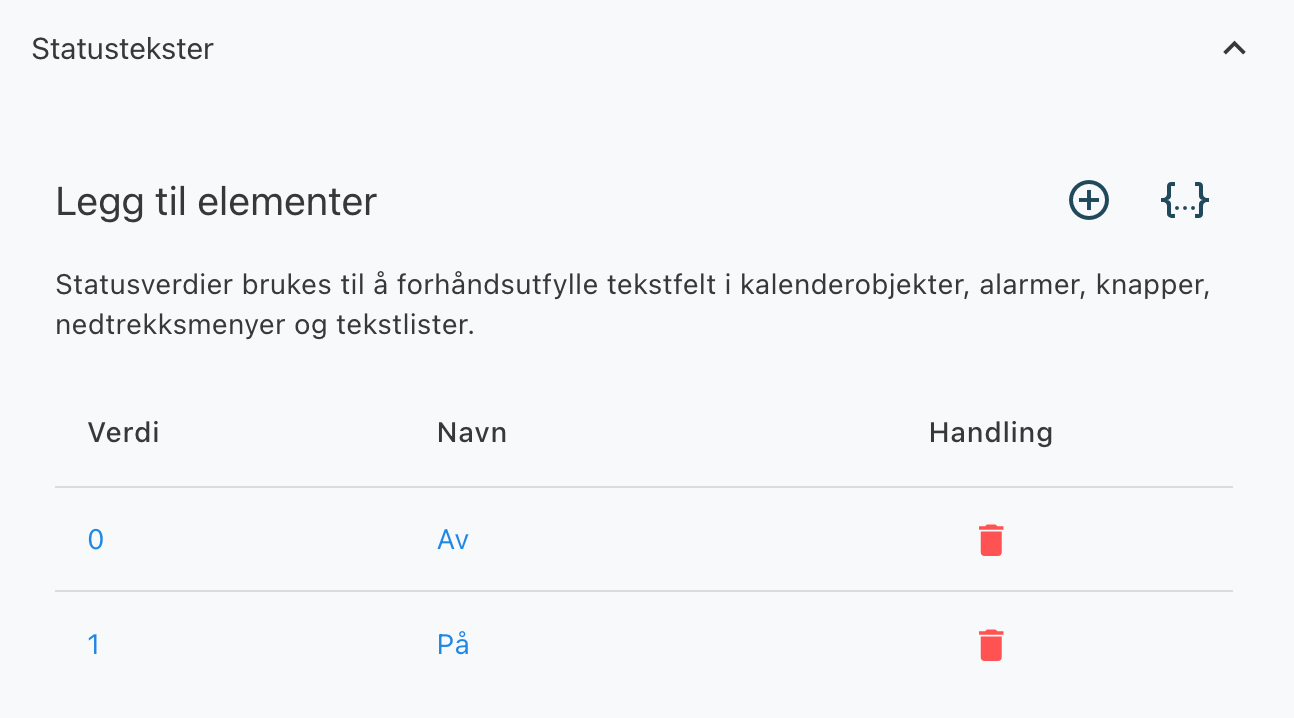
Status Texts: an optional list of values and names.
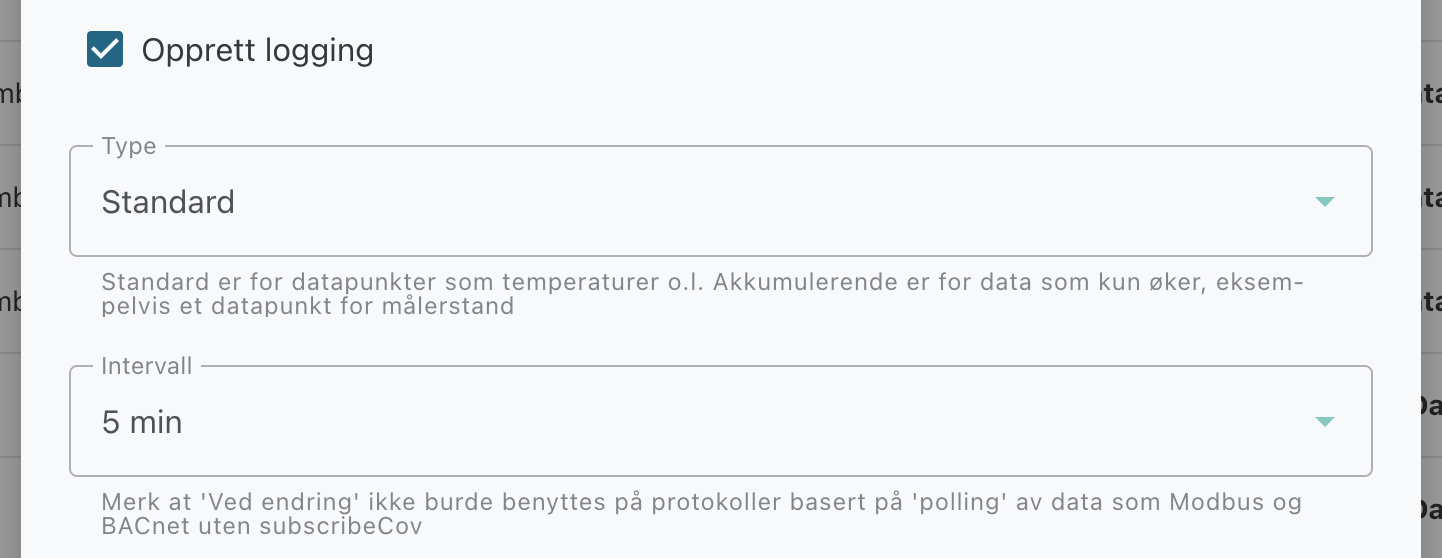
Logging: Open the panel to set up simultaneous logging. Select Type (Standard or Cumulative) and Interval (On Change, 1 min, or 5 min). Evolo suggests an interval based on the interface.
Unit: Optional unit displayed after the value, such as °C, ppm, or kWh.
Decimals: The number of decimal places displayed after the value.
Update Label for Components and Update Decimals for Components: displayed only when editing a data point. Check the box to update the label or decimals for all related components.
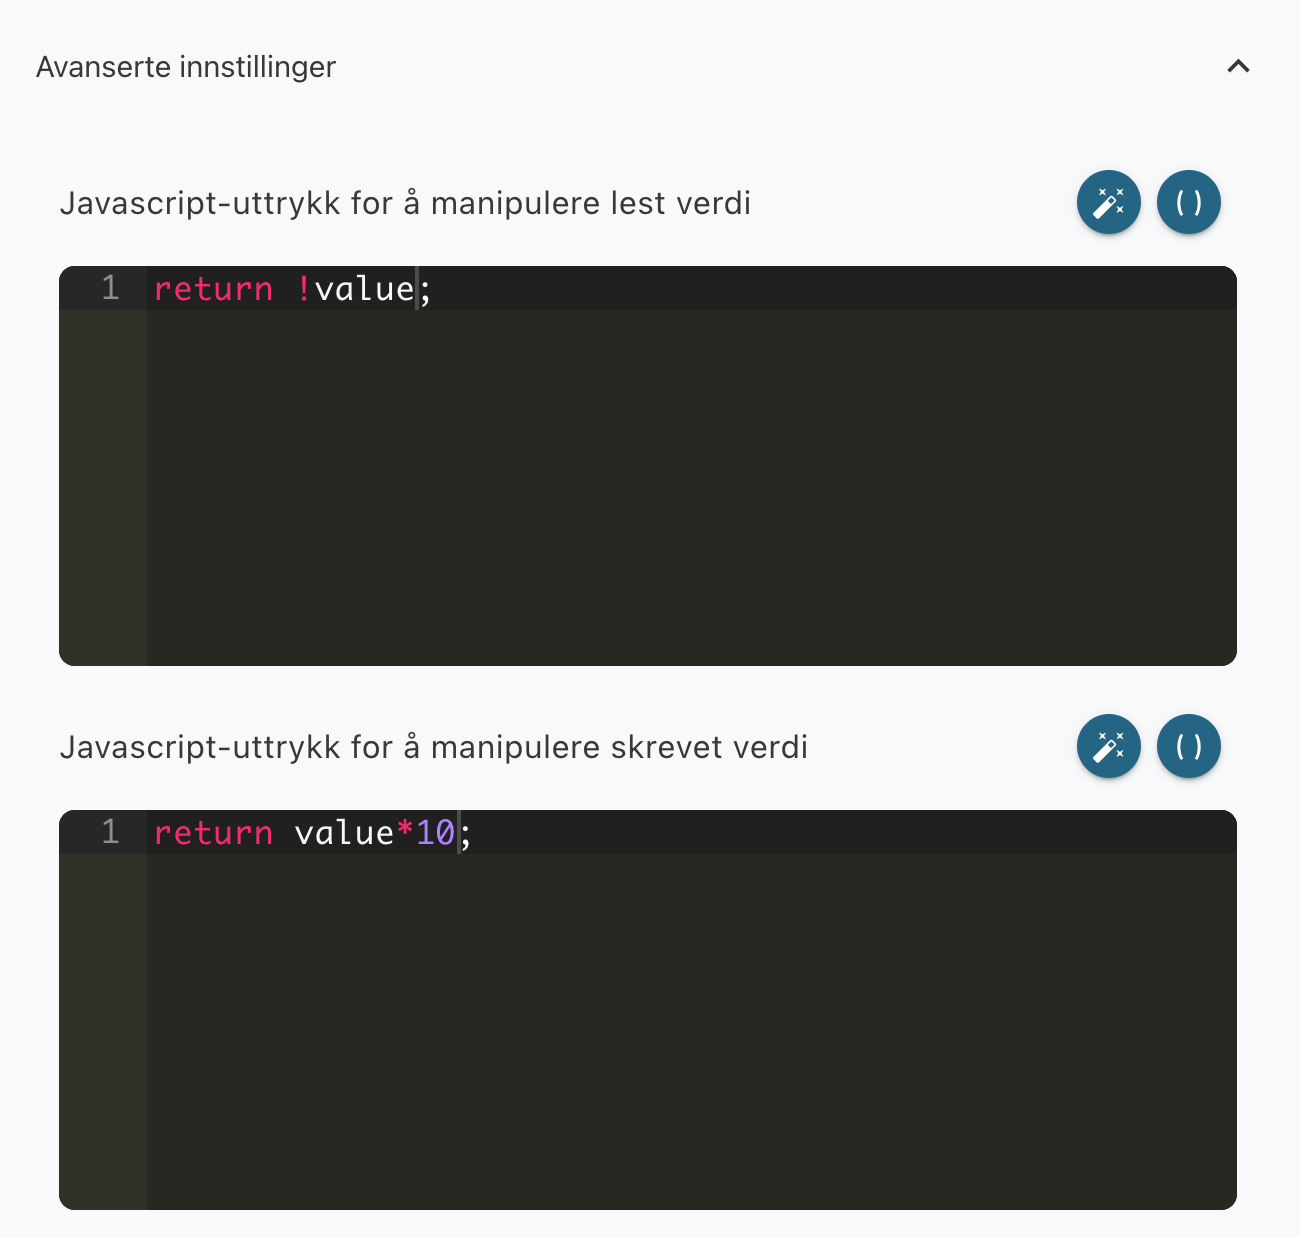
Under Advanced Settings, the interfaces have fields for JavaScript expressions that modify the read and written values. See Advanced Settings below.
Once the data point is created, link it to a system by selecting Selected → Set System in the data point table. How to Connect Data Points to a System.
You can also “import more data points” simultaneously from Excel.
KNX IP
Click here for an explanation of the various fields
DPT: the data point type (DPT) of the KNX object. It determines how the value is interpreted.
Group Address: The KNX group address, in the format x/x/x.
Supports reading from the KNX bus: check this box if the KNX object has the read flag (R) set. KNX is an event-based bus, and not all devices respond to read requests. If a value is missing Evolo, a read request is sent to the group address.
Force a new read from the KNX bus: located under Advanced Settings. Always reads the value directly from the bus instead of using the last received value. Can only be selected when “Supports reading from KNX bus” is checked.
Modbus-TCP
Click here for an explanation of the different fields
Data type: how the value should be interpreted, for example, BOOL, INT16, UINT32, or FLOAT32.
Function code: FC01 (Read coil status), FC02 (Read input status), FC03 (Read holding register), or FC04 (Read input register). FC01 and FC02 can only be selected for the BOOL data type.
Address: The Modbus register to be read.
Bit number and query size: displayed when the data type is BOOL and the function code is FC03 or FC04. The bit number is the bit in the register. Query size is the size of the memory area in which the variable is located (16-bit, 32-bit, or 64-bit).
Weighting: Displayed for all data types except BOOL. “Evolo” divides the received value by this number. The default is 1.
Write function code: located under Advanced Settings and displayed only for FC03. The default is FC16 (write multiple). Select FC6 (write single) if the device does not support writing to multiple registers in a single operation.
MQTT
Topic: the full topic name of the variable you want to read or write.
QOS: Quality of Service (QoS) for writing: 0, 1, or 2.
Boolean variable: Check this box if the value should be interpreted as true or false.
Set retain flag on outgoing messages: located under Advanced Settings. The broker will then retain the value that is sent.
Expression for reading a value
If the message contains multiple parameters, you can use an expression to retrieve the correct value, for example, `message.value`.
Expression for writing a value
You can also define your own expression for how data should be structured when writing to the topic.
BACnet
Click here for an explanation of the various fields
The easiest way is to add BACnet devices from The BACnet client. The Device ID and supported functions are then filled in automatically.
Object type: the object type in the BACnet device, such as Analog input, Binary value, Multistate value, Schedule, or Calendar.
Instance number: The instance number of the object.
Property: the property to be read. For standard objects, this is Present value. For Schedule, select Weekly schedule, Exception schedule, or Effective period; for Calendar, select Date list. The Read Data Point option is not available for the Schedule and Calendar properties.
Priority: Located under Advanced Settings and applies only to Present value. BACnet uses priorities 1 through 16, and in Evolo, you can select 3, 4, and 7 through 16. The default is 16, which is the lowest.
The BACnet
Evolo Gateway supports BACnet for object discovery, reading and writing data points, reading BACnet notifications and alarms, as well as using BACnet with the calendar.
OPC-UA
Click here for an explanation of the various fields
Node ID: The ID of the node (variable) on the OPC UA server.
Attribute ID: The attribute being read or written. Only "Value" is supported.
Data Type: The data type of the variable, such as Boolean, Int16, Float, or Double.
Logging on Creation
When you create a data point, you can also choose to “Set up logging.” This way, you won’t have to add logging manually afterward.
Status Texts
You can also add status texts for the data point. These can be used to pre-fill text fields in calendar objects, alerts, buttons, drop-down menus, and text lists in the view builder.
Advanced settings
In Advanced Settings, you can define a JavaScript expression to manipulate the read or written value.
Examples:
return !value;Flips a Boolean value.return value*10;Multiplies the written value by 10 before it is sent out
Next step
Once the data point has been created, you can use it further:
Was this helpful?
Still need help? Ask the team