Create an alert on a data point
Here's how to create an alert based on the value of one or more data points in Evolo. You can use this for both value data points and Boolean variables.
Written By Evolo Support
Last updated 1 day ago
Here's how to do it
Go to Settings and select Alarms.
Open the Setup tab.
Click Create New Alarm and select Data Point.
Select one or more data points.
Enter the limits or values that will trigger the alarm.
If desired, add a relationship to a view.
Save the alarm.
Fields
Data Points: one or more data points to which the alarm applies. You can only select numeric and Boolean data points that do not already have an alarm, and all must have the same data type.
Name: The name of the alarm. If you select one data point, the name is automatically populated from the data point. If you select multiple data points, the name is set automatically.
Description: optional text that appears in the alarm’s tooltip.
Low Alarm and High Alarm: displayed for numeric data points. The alarm is triggered when the value falls below Low Alarm or exceeds High Alarm. Enter at least one of them.
Alarm active when: displayed for Boolean data points. Select True or False.
Alarm status: Enabled or Blocked. A blocked alarm does not generate new events.
Blocked until: appears when the alarm is blocked. Select the date the alarm should be reactivated, or leave the field blank to block the alarm permanently.
You can also use Excel to "Import Alarms."
Value Data Point
If the data point is of the value type, set the low and high alarm thresholds for when the alarm should be triggered.
Boolean variable
If the data point is a Boolean variable, select whether the alarm should be triggered when the value is true or false.
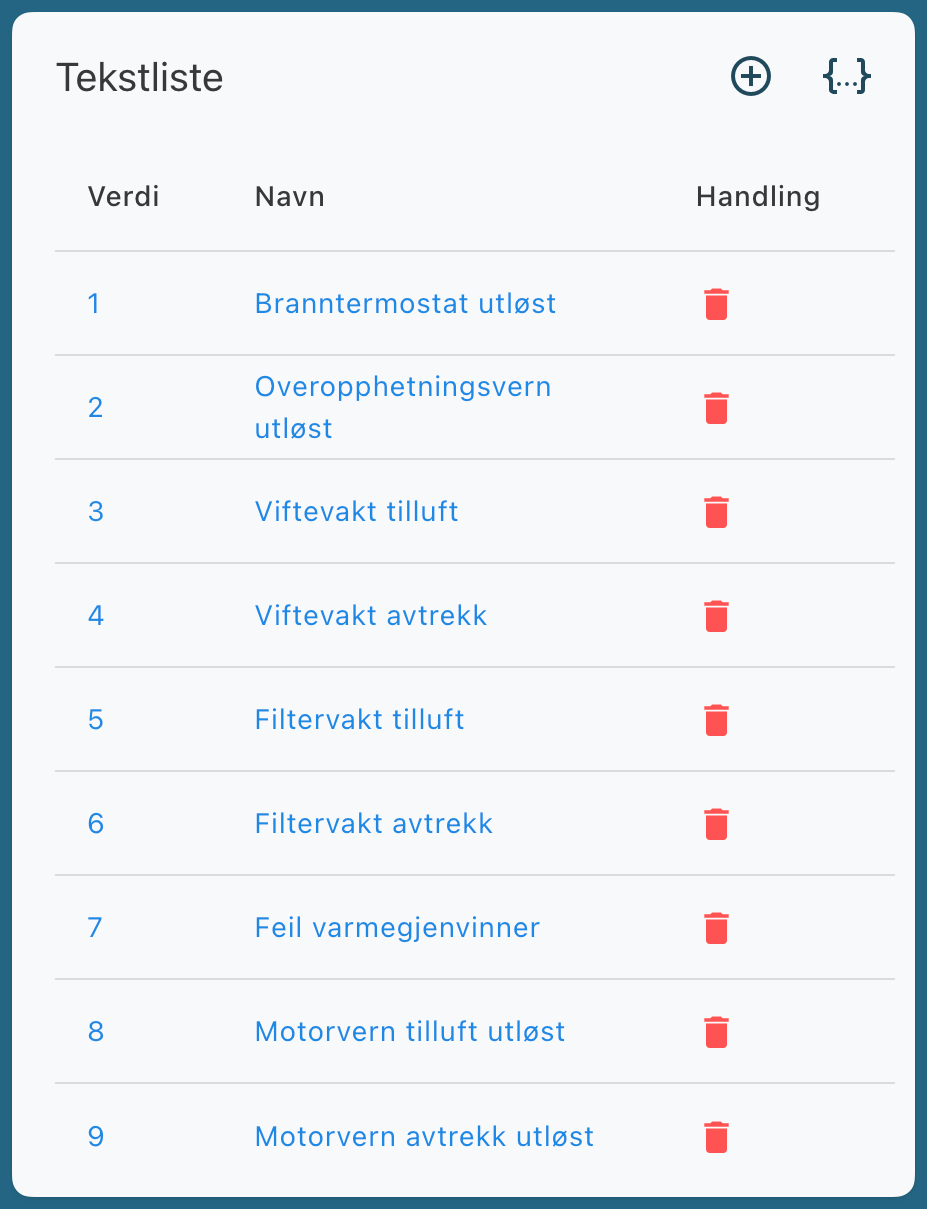
Text list for alarms
If the alarm is linked to an error code, you can use a text list to display a more understandable description instead of just the value itself.
Advanced settings
You can also configure:
Recovery period
Configure a waiting period before an alarm is marked as resolved. Useful for unstable values that fluctuate rapidly.
The alarm remains active during the waiting period; no new notifications are sent, and the alarm is automatically resolved once the value has remained stable throughout the entire period.
Relationships
In the Relationships menu, you can link the alarm to a view. This allows the user to open the correct view directly from the alarm table.
Related Articles
Was this helpful?
Still need help? Ask the team